8 min read
Disclosure: As an Amazon Associate and eBay Partner Network publisher, we earn from qualifying purchases. This doesn’t affect what we recommend or how we describe it.
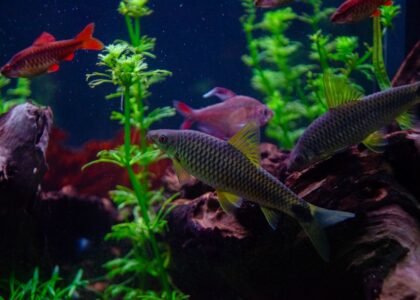
Most planted tank guides claim a CO2 reactor is a must-have for lush growth, but skip over the messy details that make or break your setup. The truth: a reactor only works as well as the installation behind it—choose the wrong placement, ignore flow rates, or mismatch your reactor size, and you’ll waste gas, stunt plant growth, and battle algae. Here’s how experienced aquascapers actually set up a CO2 reactor for reliable, efficient CO2 delivery that makes a visible difference in your tank.
Spot the difference between reactor types and what really matters
CO2 reactors come in two main flavors for home freshwater tanks: in-line (plumbed into your filter return) and in-tank (fully submerged, often with a powerhead). Both dissolve CO2 into the water column, but they handle flow, noise, and maintenance differently. The key factors that affect performance—beyond just “will it fit”—are flow rate compatibility, gas retention, and maintenance access.
| Configuration | Typical Tank Size Range | Recommended Flow Rate | CO2 Diffusion Efficiency | Maintenance Frequency |
|---|---|---|---|---|
| In-line Reactor (External) | 75–350 liters | 800–1500 L/h | Up to 98% | Every 2–3 months |
| In-tank Reactor (Internal) | 40–200 liters | 300–800 L/h | 85–95% | Monthly |
| DIY Bottle Reactor | Up to 120 liters | 200–400 L/h | 70–85% | Every 2 weeks |
| High-capacity Reactor (Large Aquascapes) | 300–600 liters | 1500–2500 L/h | Up to 99% | Every 3–4 months |
Choose the right reactor for your setup
For most home aquascapes between 100 and 300 liters, an in-line reactor gives the best balance: it hides outside the tank, runs quietly, and handles the higher flow rates needed for dense planting. Match your canister filter’s output—if your filter moves 1200 L/h, pick a reactor rated for at least that flow, or you’ll choke your filtration and reduce CO2 mixing.
In-tank reactors are better for smaller tanks or setups where running external lines isn’t possible. However, they can be bulkier and less discreet, and you’ll need to clean them more often to prevent clogging or algae buildup.
DIY reactors are tempting for the budget-conscious, but they rarely match the efficiency or reliability of commercial in-line units. They’re best for tanks under 100 liters or as a temporary measure. For larger aquascapes or high-demand plant species, a purpose-built reactor is worth the investment. Compare options before you buy—small differences in specs can make a big difference in your results.
Step-by-step guide: how to set up a CO2 reactor
- Choose the correct reactor and flow rate. Confirm your tank volume and filter output. For a 200-liter tank with a 1200 L/h filter, select an in-line reactor rated for at least 1200 L/h and compatible hose diameters (typically 16/22 mm for mid-size setups).
- Turn off and disconnect all equipment. Always unplug your filter, CO2 regulator, and any heaters before making plumbing changes. Drain the filter hoses to prevent spills.
- Install the reactor on the filter return line. Cut the return hose where you want the reactor to sit (usually just below tank level for easy priming). Fit the reactor’s inlet and outlet to your hose ends using hose clamps for a secure, leak-free fit.
- Connect the CO2 input line. Use proper CO2-safe tubing (usually 4/6 mm) and a check valve to prevent water backflow. Insert the tubing into the reactor’s gas inlet and tighten the fitting.
- Prime and test for leaks. Reconnect the filter, fill the hoses with water, and power it on. Watch for any drips at hose connections, and ensure the reactor fills and water flows freely. Only then open the CO2 regulator and start low—one bubble per second is a safe starting point for most tanks.
- Fine-tune CO2 dosing and monitor. Adjust your bubble rate and measure tank CO2 using a drop checker or pH/KH chart. Most planted tanks thrive at 20–30 ppm CO2. Check for misting or bubbles escaping from the reactor outlet—persistent bubbles mean your flow rate may be too high or the reactor is undersized.
Beginner’s pre-purchase checklist
- Measure your filter’s actual output in liters per hour (L/h) using a stopwatch and bucket—labels often overstate real flow.
- Check your hose diameter (inner and outer) with calipers or a ruler—most reactors require a precise fit, commonly 12/16 mm or 16/22 mm.
- Verify available space in your cabinet or behind the tank for mounting an external reactor—allow at least 25–40 cm of straight hose run for standard models.
- Confirm your CO2 regulator has a compatible output fitting for standard 4/6 mm tubing and a working check valve.
- Plan for electrical safety—ensure no electrical outlets are directly below the reactor or filter lines in case of leaks.
- Assess your maintenance comfort level: in-line reactors need less frequent cleaning but require more disassembly; in-tank models are easier to access but need monthly scrubbing.
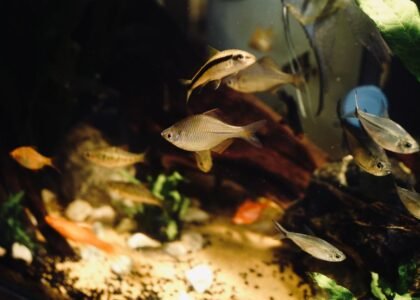
- Review your tank’s livestock—delicate fish and shrimp may be more sensitive to rapid CO2 changes, so plan for gentle ramp-up and stable dosing.
Why does reactor placement matter so much?
Incorrect placement is one of the leading reasons home aquarists report poor CO2 distribution or noisy reactors. For in-line models, always install on the filter’s return (clean water) side, not the intake. This prevents debris from clogging the reactor and keeps flow rates stable. Mount the reactor vertically if possible—horizontal installations trap bubbles and reduce efficiency.
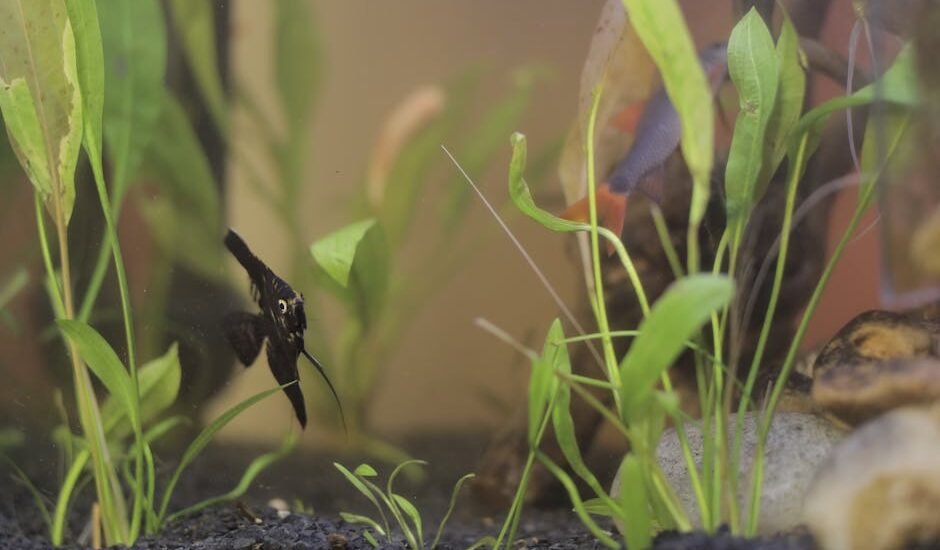
In-tank reactors should be placed near a circulation source, like the filter outlet or a small powerhead, but away from delicate plants that dislike strong current. This ensures CO2-rich water gets distributed evenly, preventing dead spots where plants may struggle.
For more on CO2 distribution best practices, see the guidelines from the British Aquatic Plant Society, which cover advanced placement and troubleshooting tips.
What can go wrong? Common pitfalls and how to avoid them
Even experienced hobbyists occasionally run into issues like persistent bubbles from the reactor outlet, low CO2 levels despite high dosing, or cloudy water after installation. Most of these stem from mismatched flow rates (filter too weak or too strong), undersized reactors, or poor sealing at hose connections.
Other frequent mistakes include installing the reactor on the wrong side of the filter, skipping the check valve (risking water backflow into your CO2 regulator), or failing to bleed trapped air after start-up. Take your time during setup, double-check each connection, and don’t be afraid to pause and troubleshoot if something seems off. See today’s deals on reliable reactors that include clear instructions and robust fittings.
Related Guides
- How to Set Up a CO2 Reactor: A Step-by-Step Guide for Planted Tanks
- CO2 Bubble Counters That Actually Work: A Practical Buyer’s Guide
- Small Aquarium Kits That Are Actually Worth Buying
- Internal Filter vs Sponge Filter: Which Is Better for Your Aquarium?
- Our guide to How to Change an Aquarium Light Bulb: A Step-by-Step Guide
- What Is a Rimless Fish Tank—and Should You Choose One?
FAQ: real-world CO2 reactor questions answered
How often should I clean my CO2 reactor?
For in-line reactors, cleaning every 2–3 months is typical. In-tank models may need monthly cleaning, especially if algae or detritus accumulates. Always follow the manufacturer’s specific recommendations for your type and tank size.
Can I use a CO2 reactor with a hang-on-back filter?
Most reactors are designed for canister filters with external hoses. Hang-on-back filters usually lack the necessary flow rate and hose connections, making reactors impractical. Consider a diffuser or in-tank reactor for these setups.
How do I know if my reactor is the right size?
Match your reactor to both tank volume and filter flow. For example, a 300-liter tank with a 1500 L/h filter needs a reactor rated for at least 1500 L/h and a physical capacity of 25–35 cm length. Undersized reactors result in visible CO2 bubbles escaping the outlet and wasted gas.
In-line vs in-tank reactor — which is better for a 150-liter planted tank?
For a 150-liter tank, both can work, but an in-line reactor offers higher diffusion efficiency, less visible equipment, and quieter operation if you have a compatible canister filter. In-tank reactors are easier to install but can be bulky and need more frequent cleaning.
What should I do if I see bubbles coming out of the reactor outlet?
This usually means your water flow is too high for the reactor to dissolve all the CO2. Try reducing filter output or increasing the reactor size. Persistent bubbles can also indicate trapped air—tilt the reactor gently to release it after installation.
Is there a warranty or return policy for most CO2 reactors?
Most commercial reactors come with a 1-year limited warranty covering manufacturing defects. Always check the seller’s return policy before purchasing, as some budget models offer only 30-day returns. Save your receipt and test for leaks immediately after installation.
How long should CO2 run each day for best plant growth?
Most aquascapers run CO2 for 6–8 hours per day, starting 1 hour before lights-on and ending 1 hour before lights-off. This ensures plants receive CO2 during their peak photosynthetic period without overgassing the tank or stressing livestock.
Final tips for a trouble-free reactor setup
Take your time to measure, match, and double-check every connection. Use proper CO2-safe tubing and always install a check valve. Never rush water flow adjustments—give the system a full 24 hours to stabilize before making major changes to CO2 dosing. A well-installed reactor can make CO2 supplementation nearly “set and forget,” letting you focus on growing a vibrant, healthy aquascape. For deeper dives into CO2 and plant nutrition science, explore the resources at Practical Fishkeeping, which regularly publishes expert advice for advanced hobbyists.

Last updated: July 2026 · How we put guides together